[Note: I have decided for now to keep all Woolgathering articles free. I’ve been enjoying writing them so much, that I want to make sure everyone can read them. That being said, I hope you enjoy this latest foray into making a handmade wardrobe!]
I am one of those plagued by persistent, debilitating optimism. At the start of any endeavor, I am already perfectly satisfied of a speedy and uncomplicated conclusion. I blithely and blindly leap, and only once I am in the air do I begin to measure distances and calculate probabilities.
All this to say, I have not finished my linen skirt. Why, it is not even gathered into a snug little waistband. The number of steps left to accomplish is long, that of tasks completed, short. Yet one task is complete, whose accomplishment taught me a great deal. I went to the effort of making a pocket, and about this, I have a great deal to say.
The Pocket
I started this skirt not thinking to have a pocket at all—however, feeling I had betrayed my principles by this omission, at the last minute I decided to add one. Since I will have a side button placket to open and close the skirt, I am unfortunately limited to just one pocket.
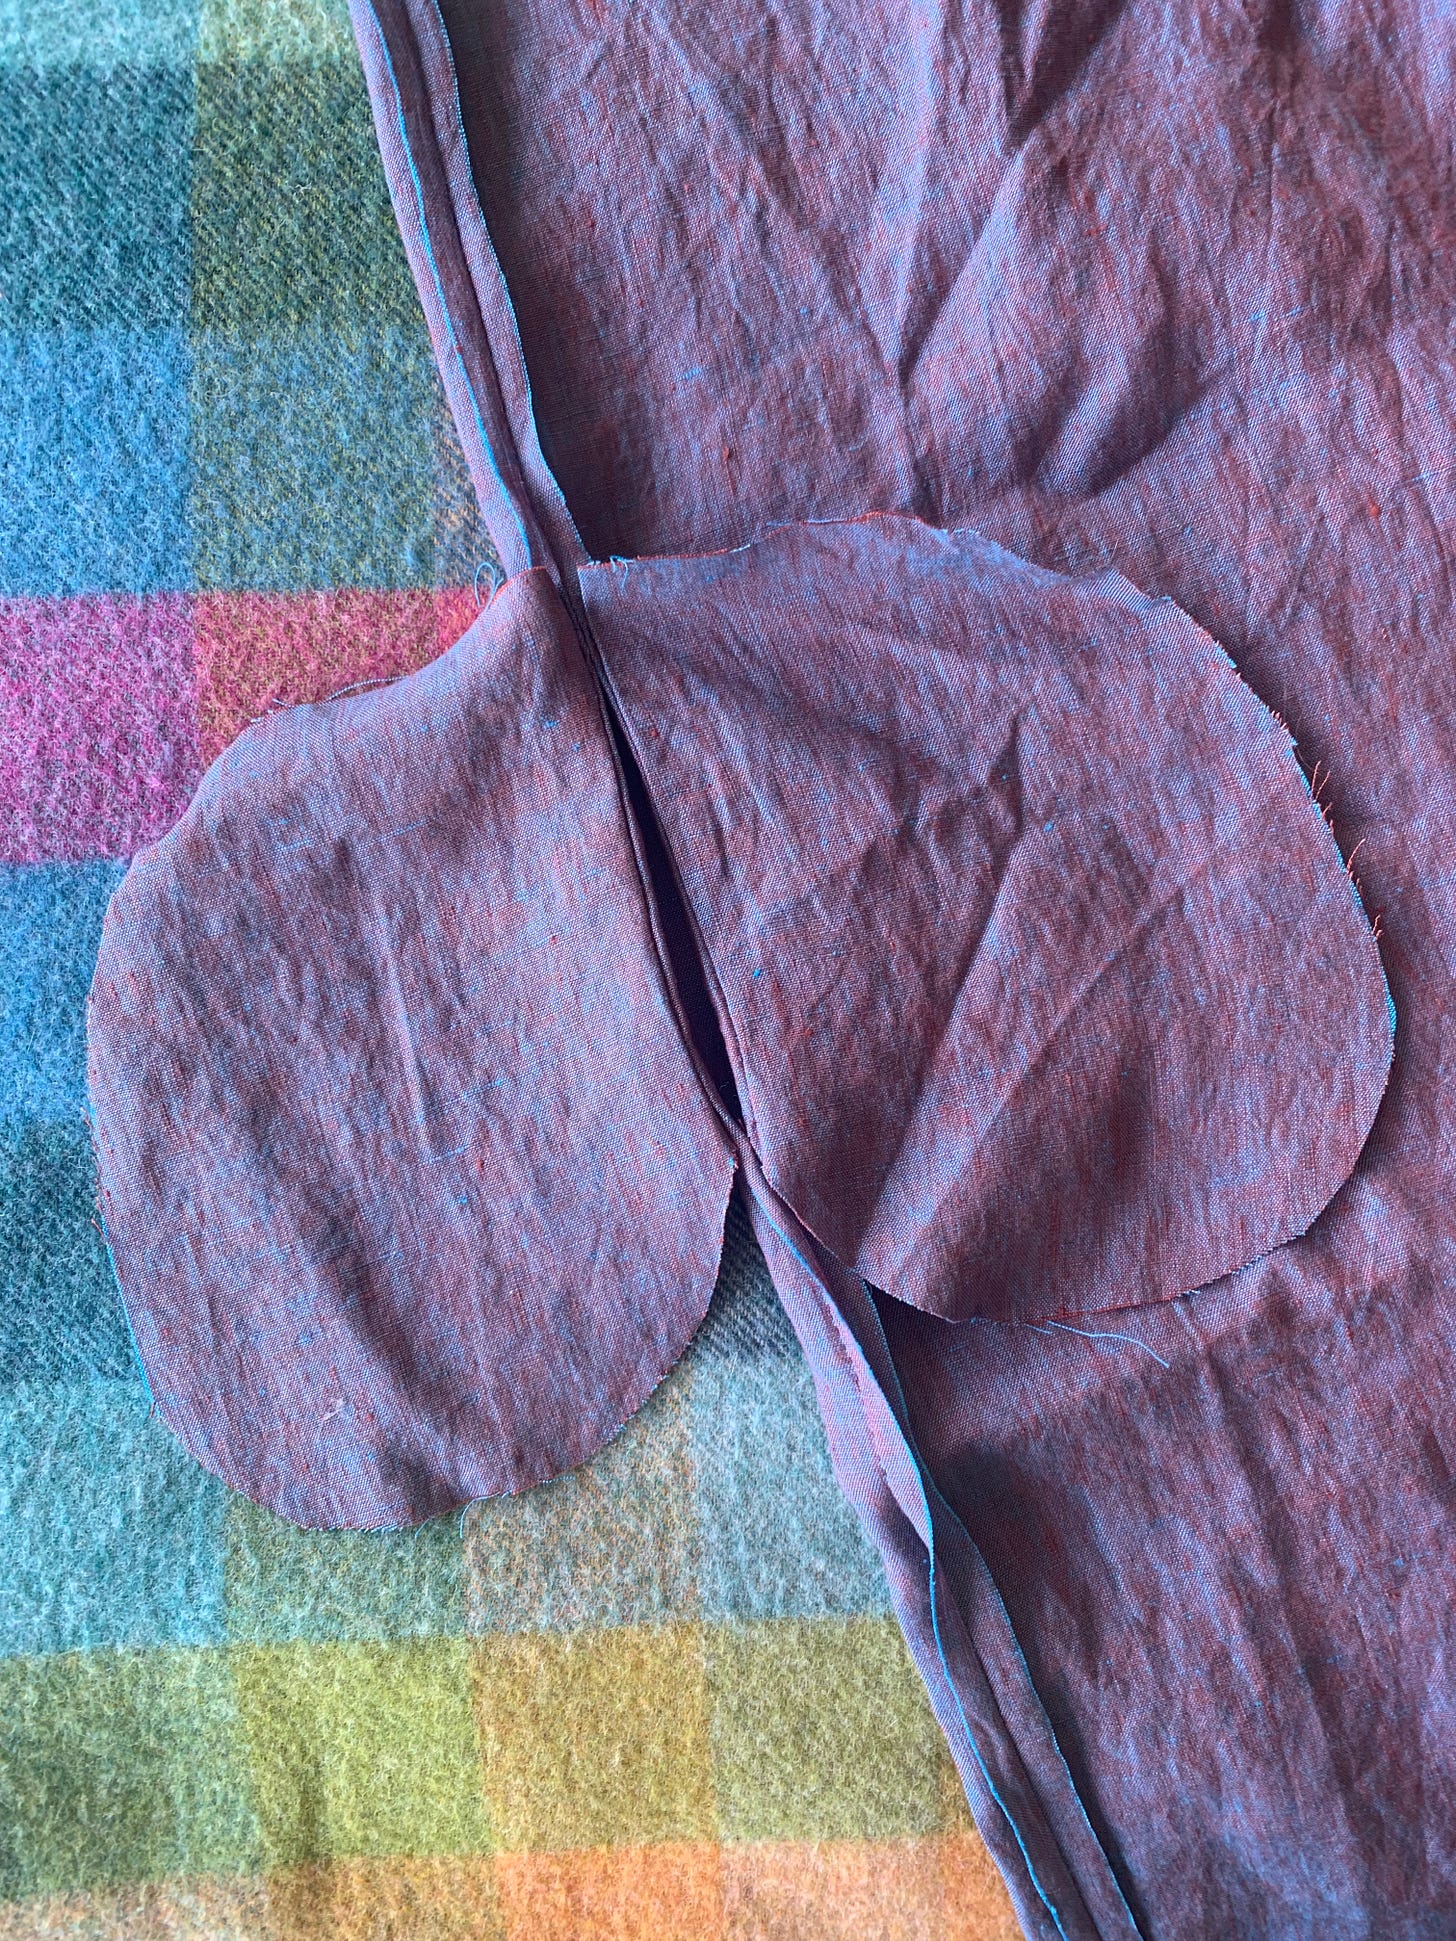
Having thus decided, in a spurt of energy I cut out my pieces. I laid down my fabric, (without pressing, mind,) and drew a pocket shape around my hand with enough room for seam allowances and ample receipts, buttons, bits of string, and other items of great importance this pocket will soon protect from wind and weather. I then cut out its partner and hoped for the best.
Now, I had already sewed up both my side seams, so I needed to make room for my pocket. I measured about how far down the seam I wanted my pocket, measured room for the opening, and seam ripped just that portion. I should note: BEFORE ripping the seam, I did a bit of hand-overcasting at each end of the opening, so the seam would not unravel past these points. This was the first time I tried this, and it really worked like a charm.
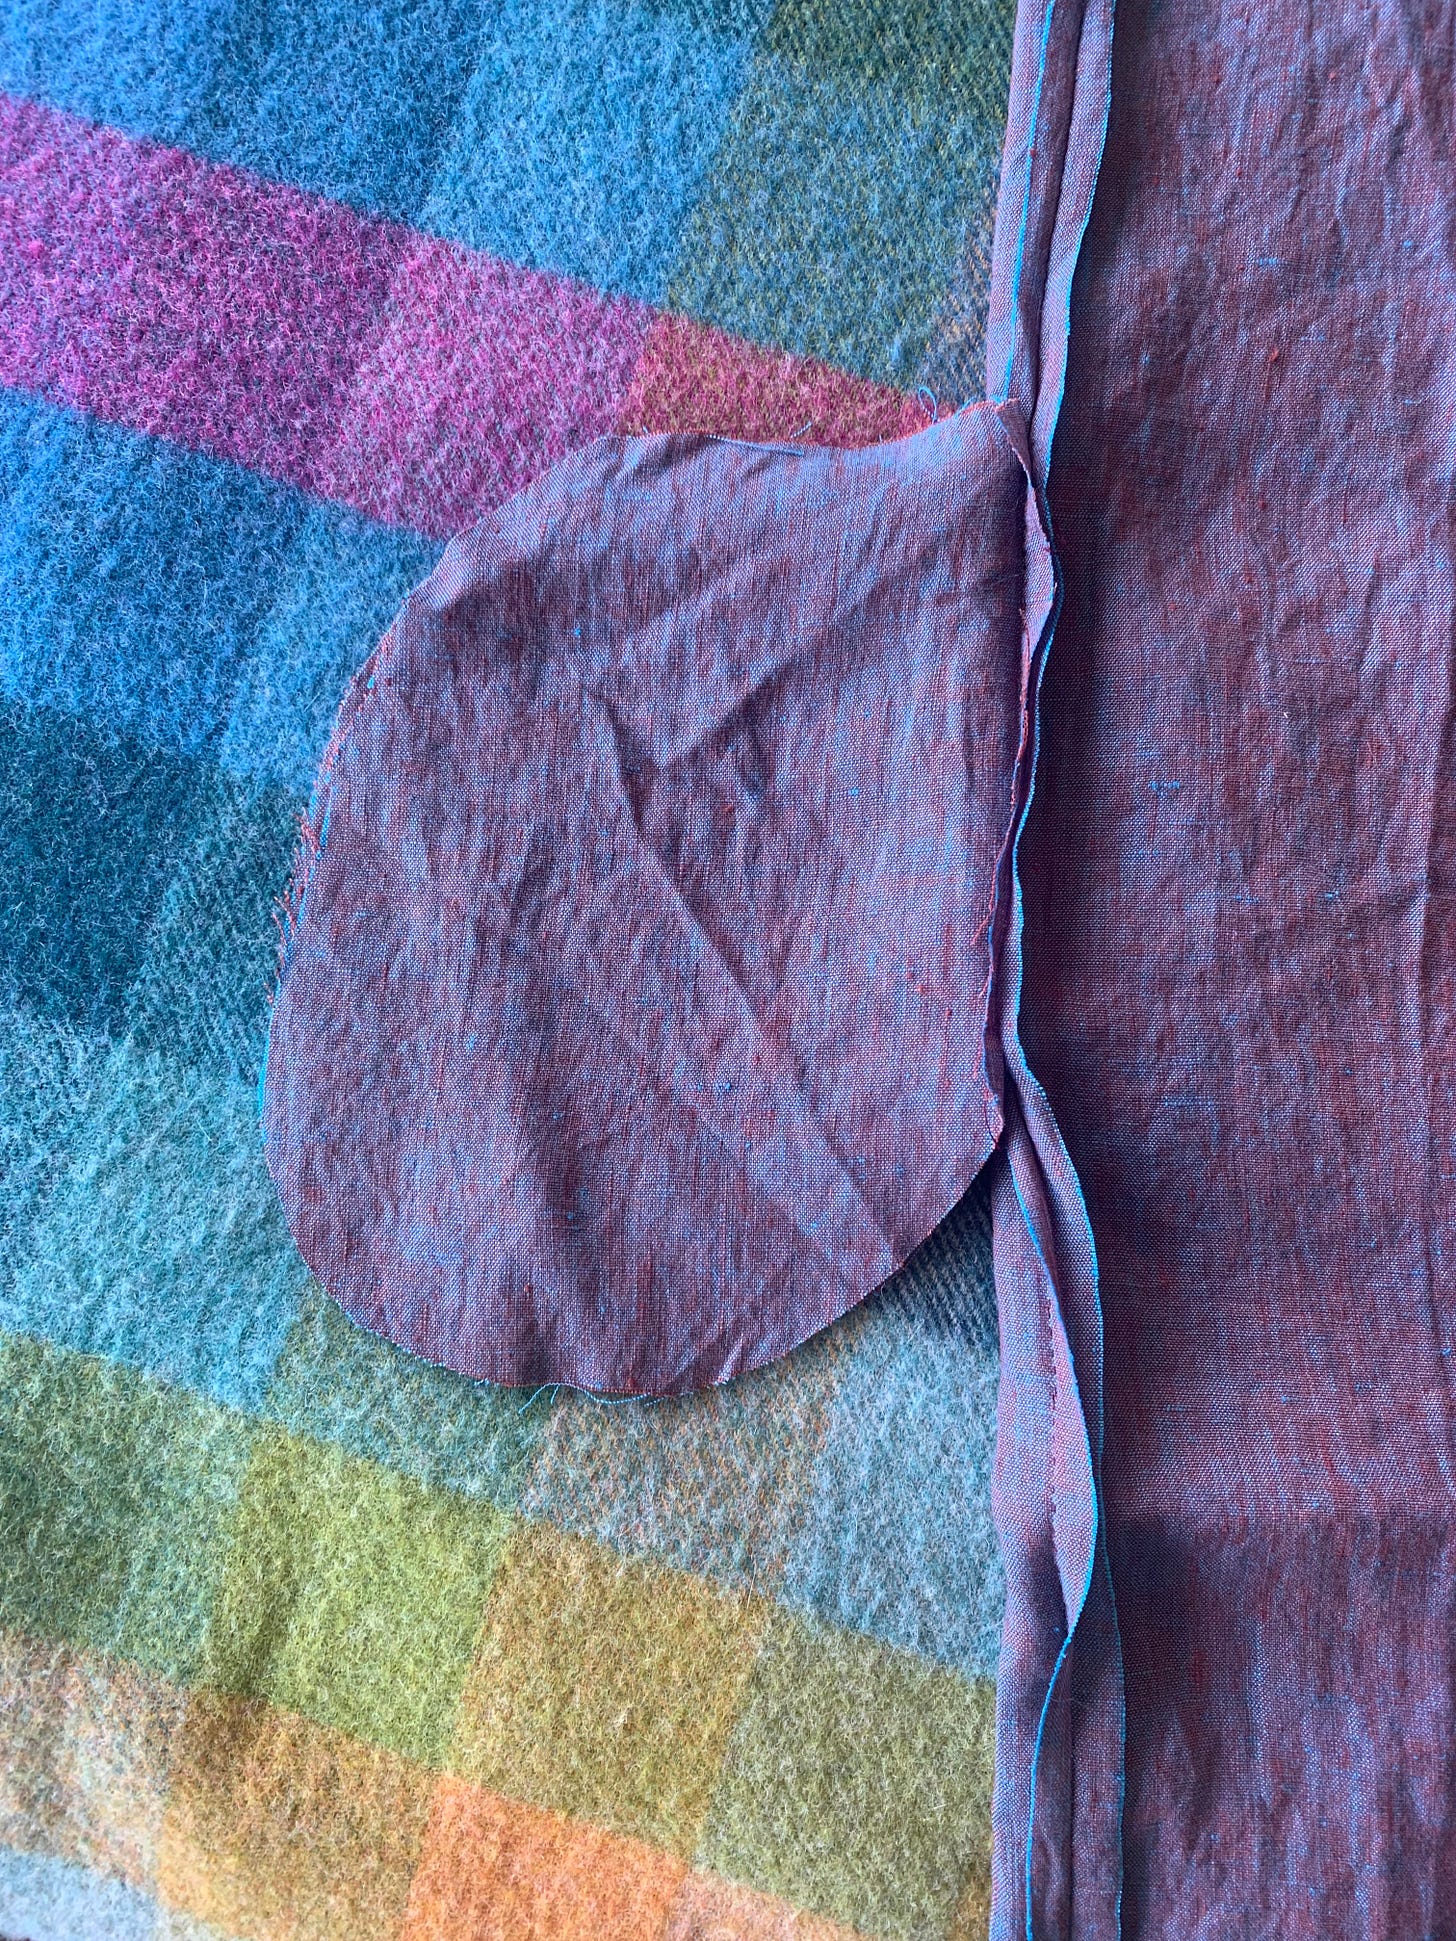
Enthused by these small successes, I sewed each pocket half to the front and back of the skirt, and finally sewed the two pieces together. I had already a mounting sense of approaching obstacles, but I pressed on merrily all the same.
As I looked with satisfaction at my neat(ish) stitching, however, the obstacle presented itself, in the form of threads fraying off the pocket’s seam allowance. I needed to finish the seam—but how on earth would I go about doing that?
Now, in the past I’ve felled a pocket seam allowance, and let me tell you, that is not an experience I want to repeat. The extra bulk at the curved edges is a nightmare to roll down, and always manages to find new angles to leap out from and fray alarmingly. So, felling was out.
The first idea I had, since I had ample seam allowances, was to fold down each half, sandwich the raw edges together, and simply work an approximation of a half back stitch through all four layers. I was a little worried the curved edges would present problems, however; there tends to be extra bulk at curved edges which is somewhat difficult to manage. I did think of hand-overcasting the whole thing, but the prospect of that much work over a pocket seam was not very appealing. I turned to the internet for other ideas.
This video I found particularly intriguing, which shows how to do a pocket with a French seam. French seams are a particularly elegant way of enclosing raw edges; they are neat, professional, superbly achievable, but they require a little foresight and planning. You must sew your seams together the exact OPPOSITE way you would normally; and because all seams in a garment are interconnected, in order to work a French seam for my pocket, I would’ve needed to undo all the other seams I had sewn to make them French seams as well: a prospect which, already several hours into hand-sewing, made me slightly weak at the knees.
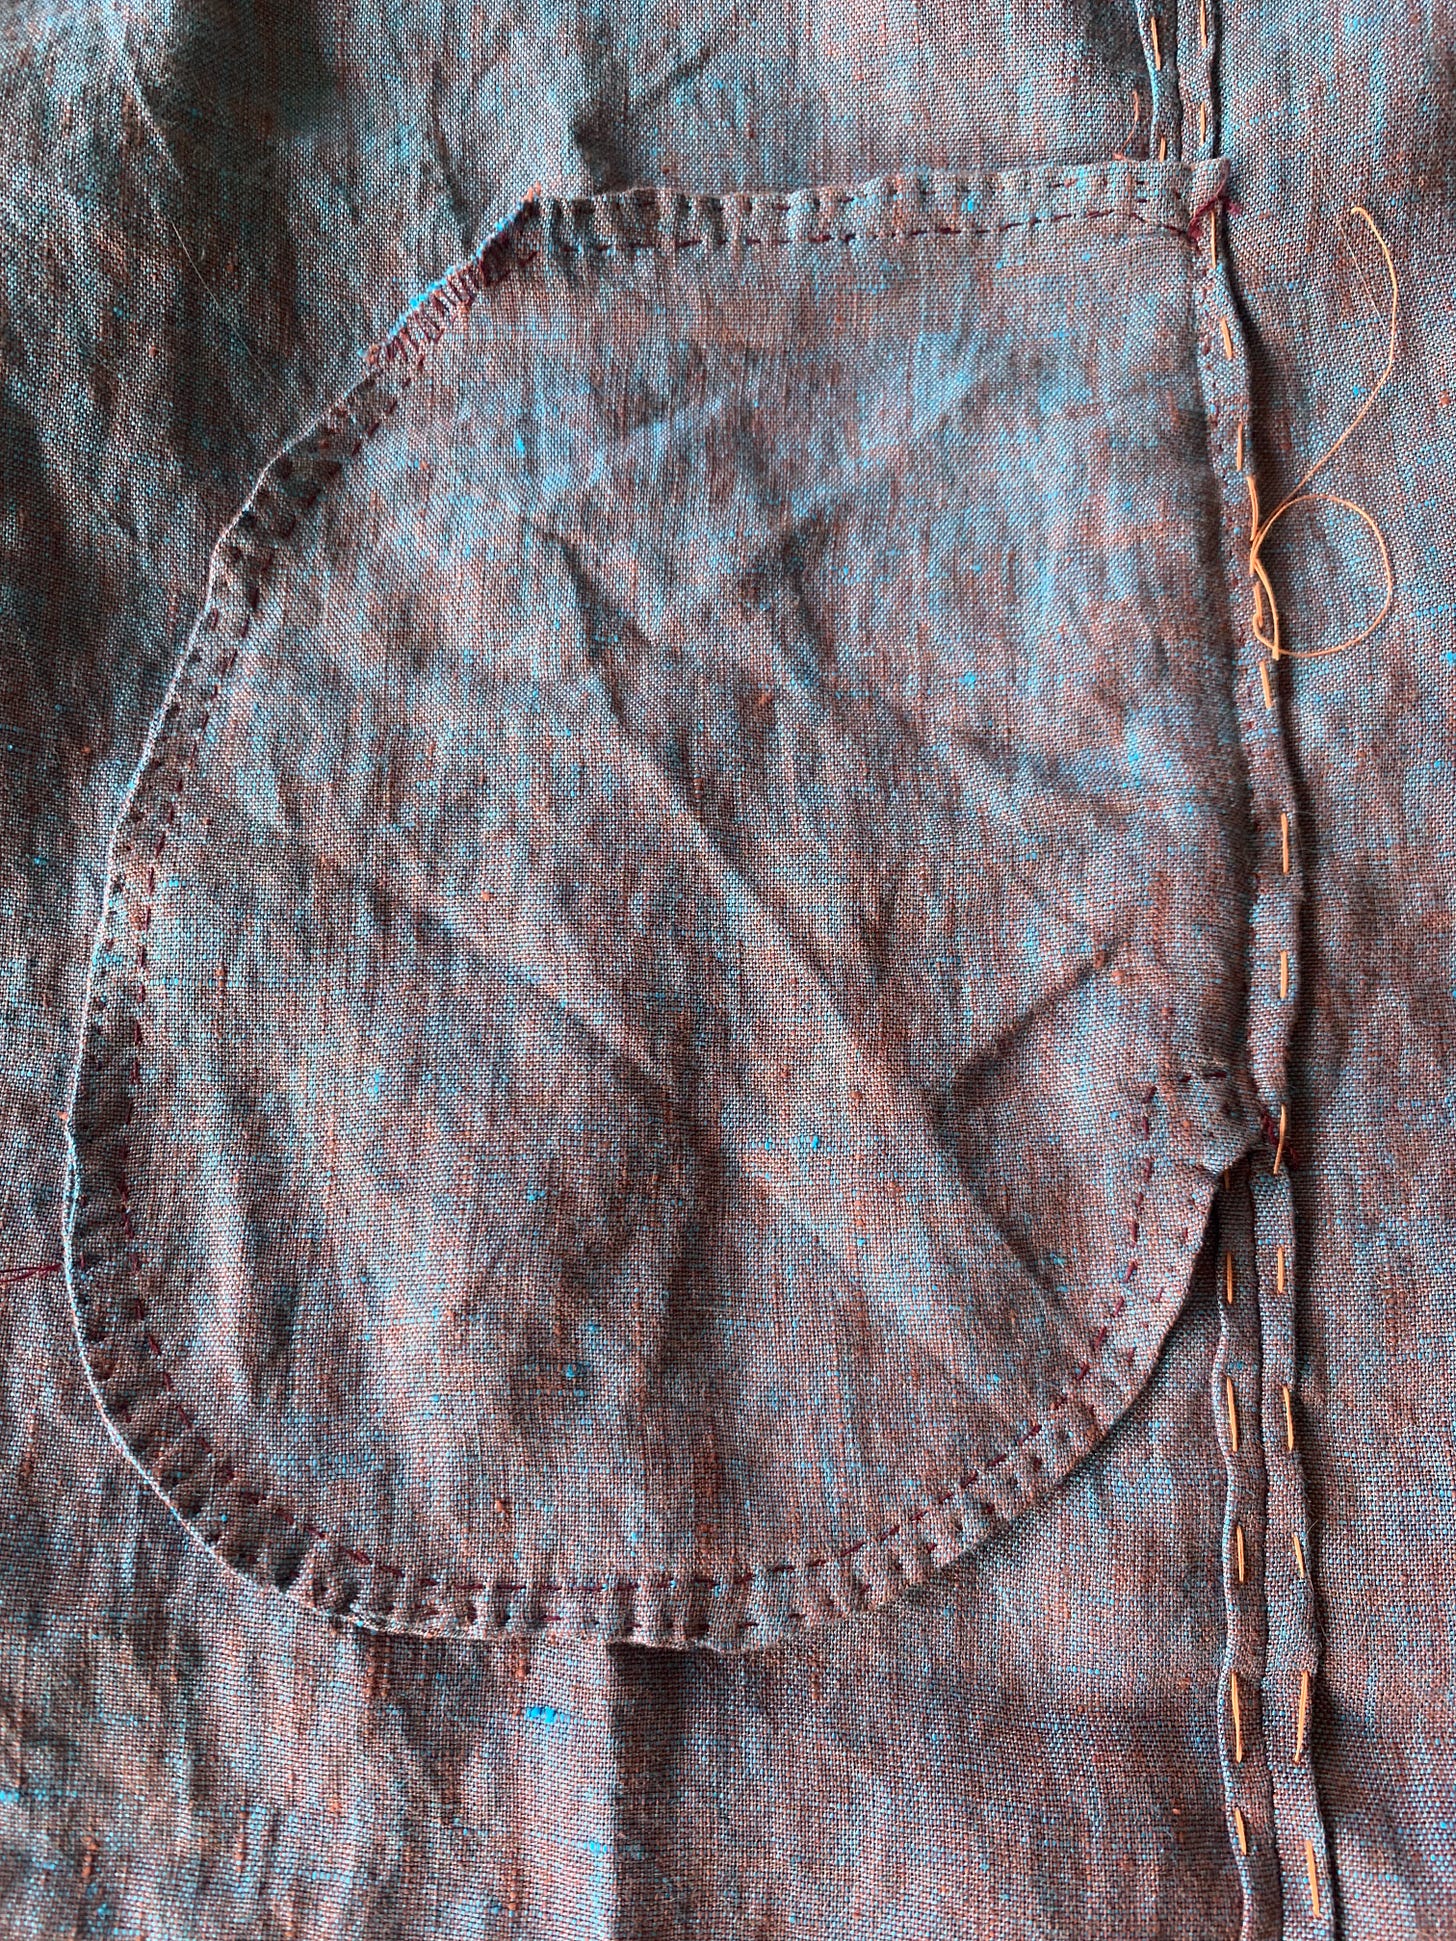
At last, fed up with having taken so much time over a pocket, I decided to go with my original plan, and sandwich the raw edges together. This went surprisingly smoothly, the curves presenting only the slightest of difficulties. Here is the end result:
You may notice that little Frankensteined corner, where I snipped the allowance close to the seam. I’m not sure what I thought this would accomplish. However, I simply hand-overcast that corner, which took approximately two minutes. So, no harm in the end.
Would I do this again? Surprisingly, yes. The final result is perfectly neat, and it took no time at all. If I am working a garment with French seams, I will definitely try a French-seamed pocket, but otherwise I find this method perfectly serviceable.
Steps to Complete the Skirt
Well, and what else do I have to do to finish this linen skirt, which in a matter of a month or two it will be too cold to wear? I must:
Finish the side seams
Cut the waistband fashion fabric and interfacing
Sew waistband interfacing to fashion fabric
Gather the top edge of the skirt into the waistband
Make a button or hook and eye placket, and sew on buttons or hooks and eyes
Finish the hem
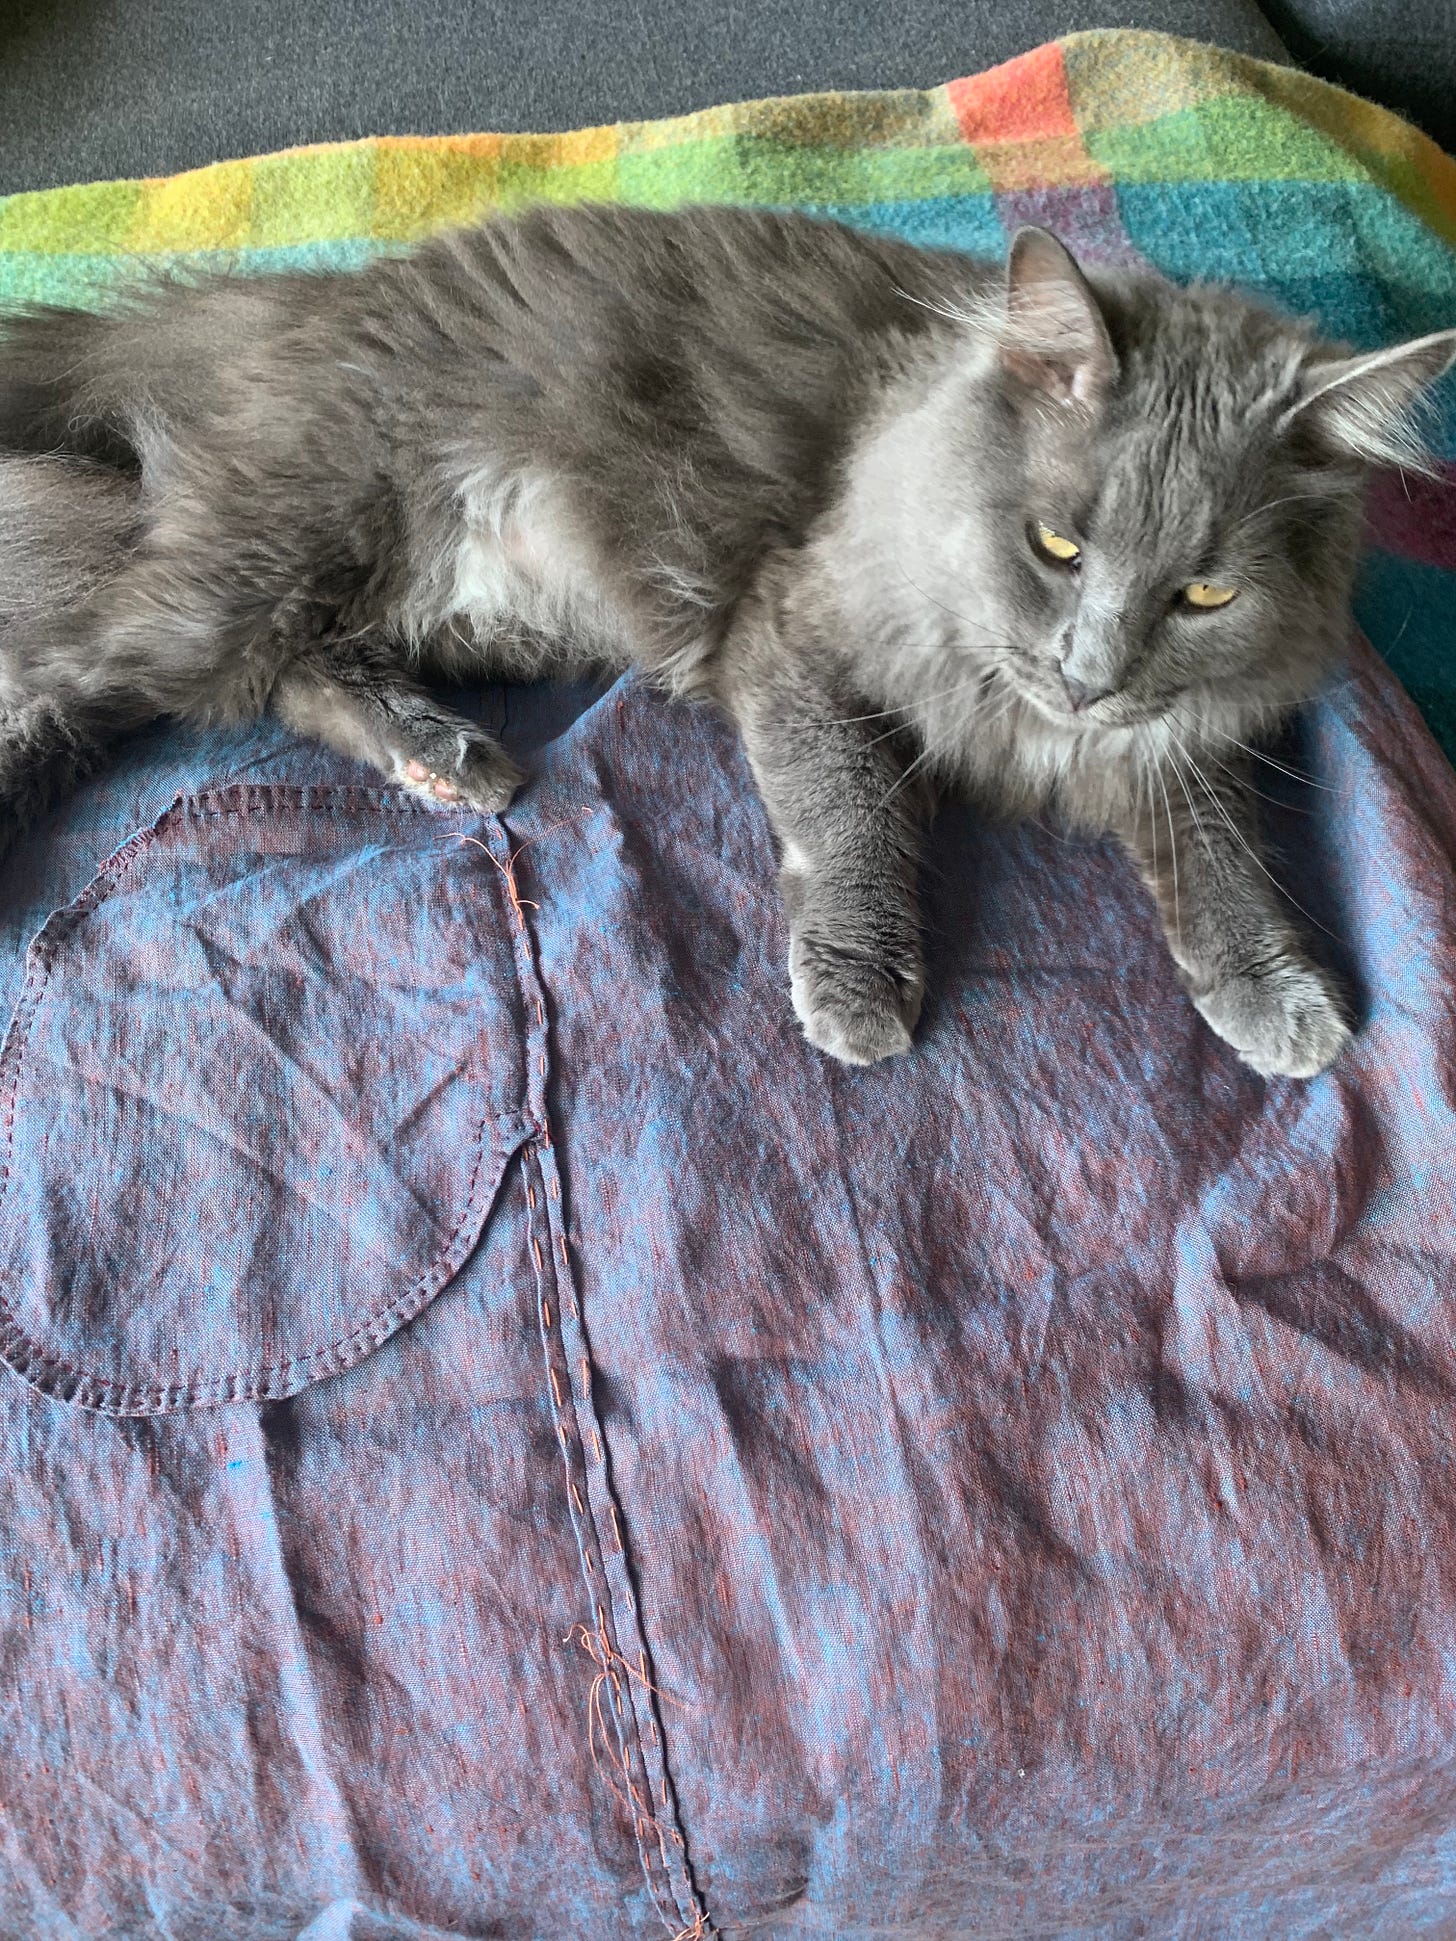
This may look like a lot, but, in fact, I feel this is perfectly doable in a month. In fact, I have already basted down my pocket-side seam for hand felling:
So I am fairly confident by this time next month, I will be able to show you a finished skirt!
The Peppermint Socks
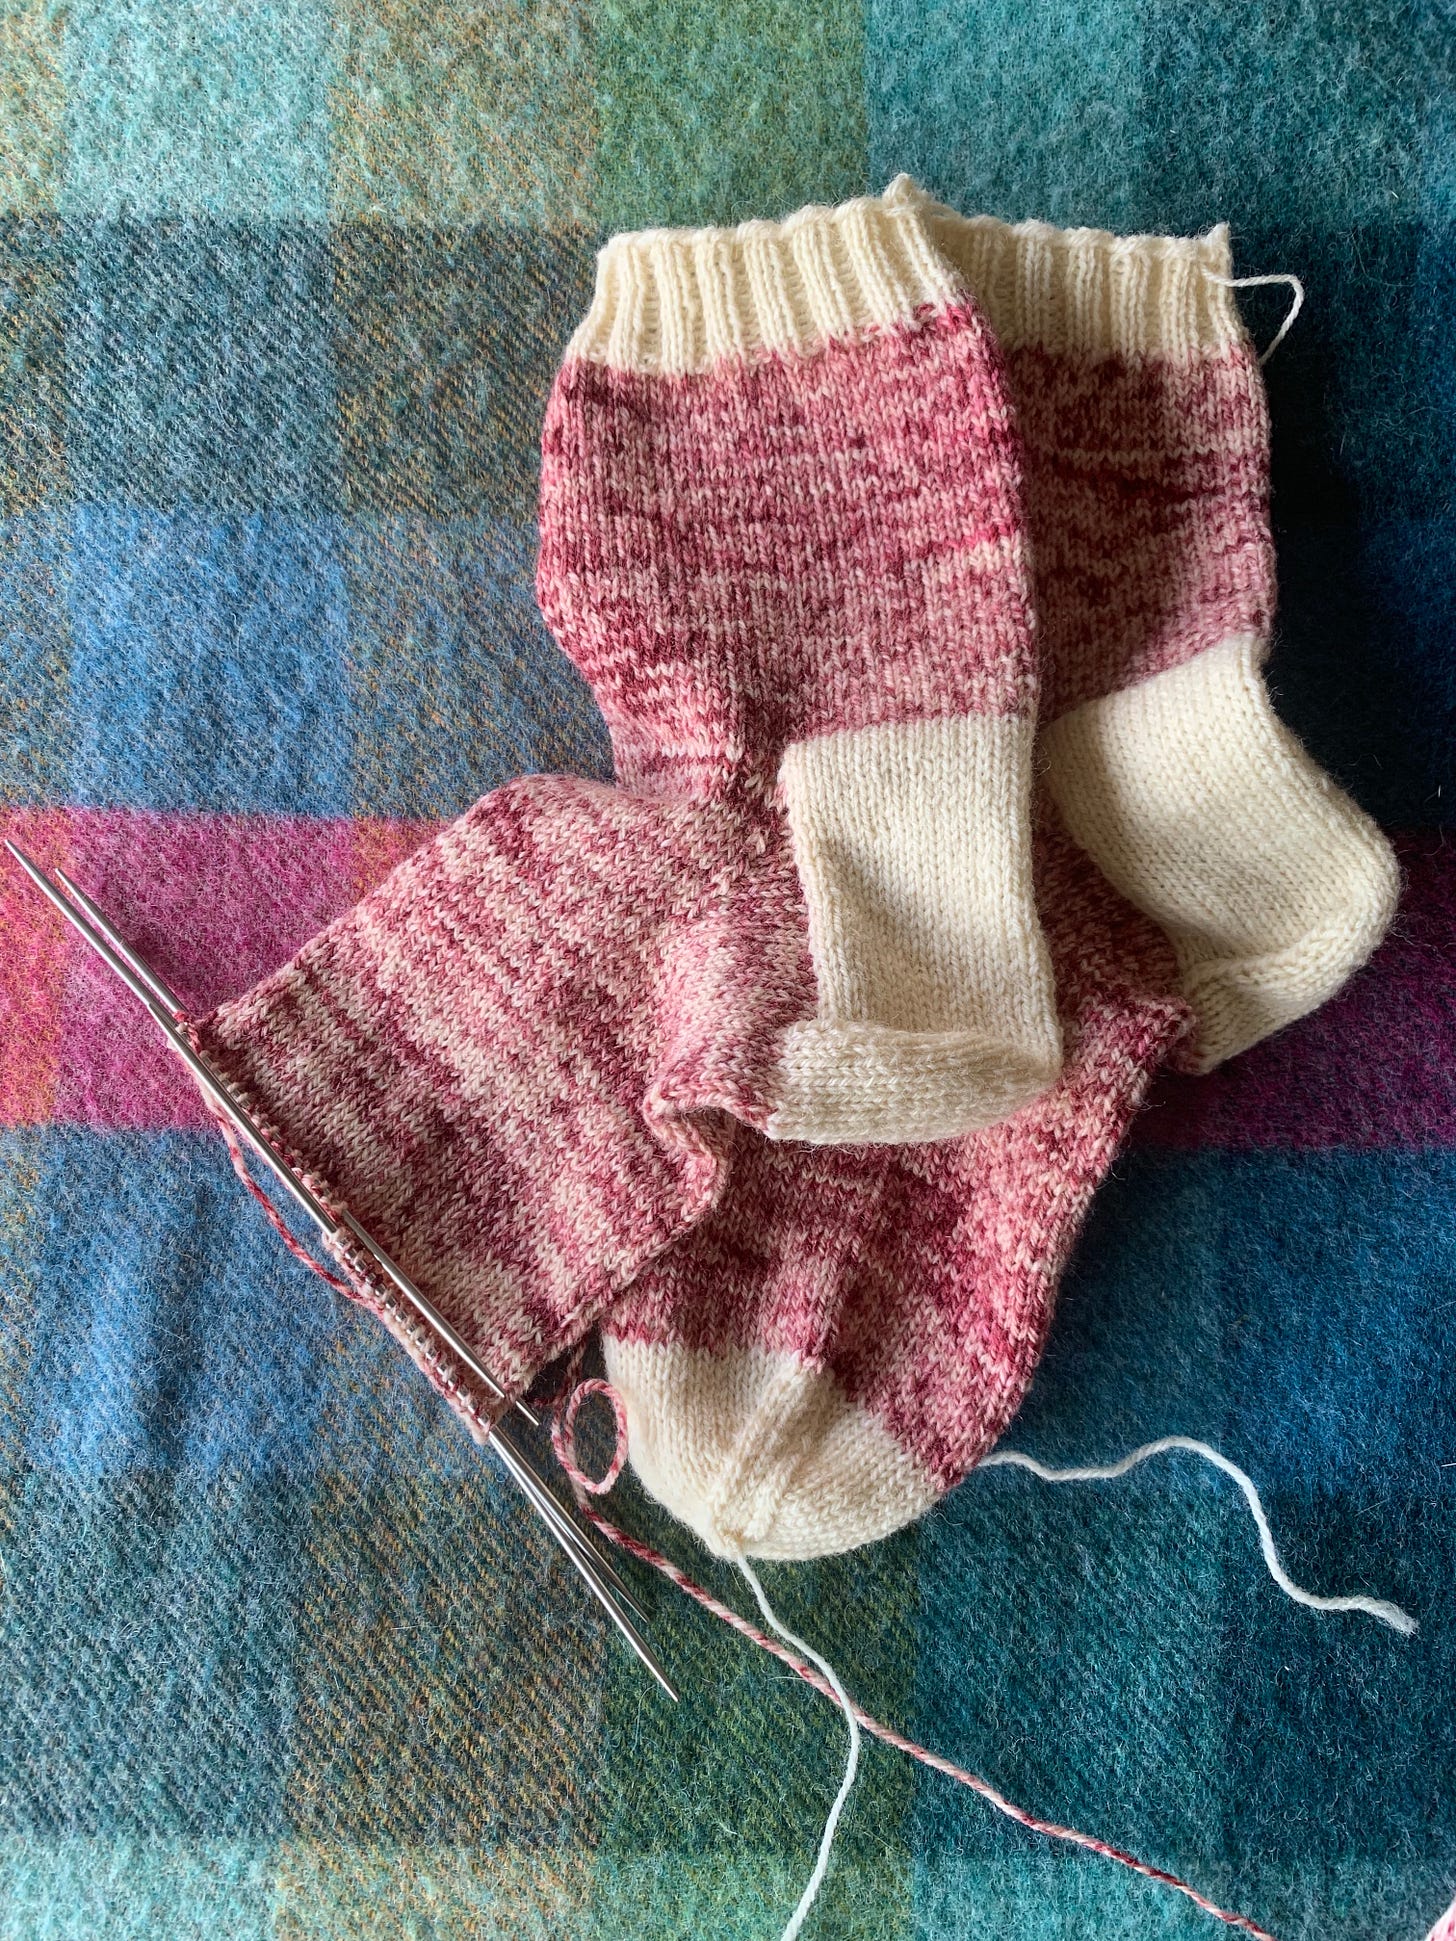
The other project I made serious inroads on this month are my Peppermint Socks.
As you can see, they are almost complete! All I have left to do is make the toe on the second sock.
I have had a blast making these. The yarn is Retrosaria Mondim in their color ways 205 for the main color, and 100 for the cuffs, heels and toes. This is a great all-wool sock yarn, soft, but with a high twist to make it hard-wearing. It is from Portugal and made from fine Portuguese wool. The name comes from a village once famous for its knitted socks, which I think is pretty cool! These days most yarns meant for socks have nylon content for added durability, so I have been on the hunt for good sock yarns that buck this trend. I think Mondim will become a favorite!
I took inspiration for these from Nancy Bush’s wonderful book Folk Socks: The History & Techniques of Handknitted Footwear, which takes a deep dive into traditional socks from around the world. I also used this basic sock pattern, which is a favorite of mine. However, I worked a Dutch heel, which is a new-to-me technique. It is also known as a square heel, which I think is fitting.
If you are interested in learning more about the Dutch heel, Roxanne Richardson has a fabulous video on YouTube explaining its construction.
I am very excited to finally have these on my feet and in my sock drawer! After I finish the second toe, I will have to reinforce the heels, wash and block, and weave in the ends. Then I will have a brand new pair of socks in time for Autumn; and I can’t imagine a nicer thing than that.
That’s all for today! I hope you have a lovely weekend, and I will see you next Saturday with some original fiction.


