We live in an apartment surrounded by honey locust trees, which are now in their full Summer glory. This has always been a favorite tree of mine, and since our living here it has become even more familiar and beloved. Lately as I look out on our trees, and admire the way their tiny, delicate leaves interplay with their own branches and with the sky behind, they have put me in mind of that most delicate and ethereal of fabrics: lace.
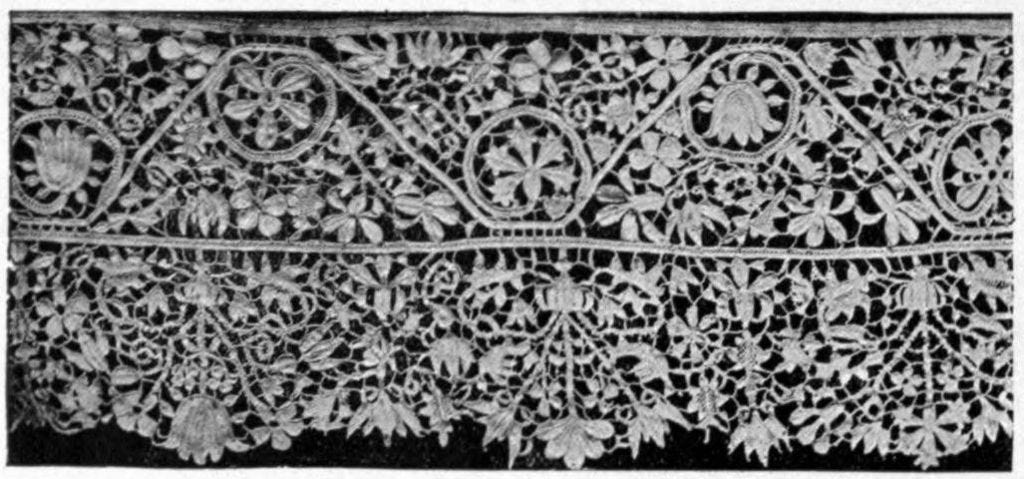
Needle and bobbin laces evolved simultaneously. Bobbin lace developed first in Flanders, while needle lace had its origin in Italy, where one of the first styles created was punto in aria, or “stitches (points) in the air”. This name underlines lace’s unusual claim to luxury. It is neither the most sumptuous, nor the most richly colored of fabrics. Rather, the very absence of warp and weft, the perpetual dance between its threads and the light and air they delineate, are what make the fabric luxurious. Yet there is something proletariat in lace’s beauty, as well, for it depends entirely on painstaking labor. The most exquisite of laces maybe wrought from the humblest of cotton threads. It is the skill and diligence of the laborer alone which makes handmade lace, even today, an item of luxury.

The needle laces are some of the most painstaking laces to work. They are made with nothing but a needle and thread. Thus the worker quite literally does make stitches in the air, embroidery stitches which would typically be worked onto a fabric. Bobbin laces, too, such as the highly prized Valenciennes lace, require many hours of meticulous labor. Yet the textile arts have always delighted in mimicking and drawing inspiration from one another; what is more, the expense of needle and bobbin laces made more affordable options desirable. Thus the crochet, tatted, and knitted laces were born, alongside the very interesting machine-woven Leavers lace, itself now a luxury item.
The latter half of the 19th century was a golden age for knitted laces. The Shetland, Haapsalu, and Orenburg knitted lace traditions, dating to the 1830s, early 19th century, and late 18th century respectively, became world famous and extremely popular. These lace traditions still represent to many knitters the very height of achievement in the craft. Yet one of the most endearing facets of these traditions, to me, at least, is that they arose in the cottages of the working poor. Women seeking to eke out extra money from the resources they had to hand, spun and knit from the materials available to them, works that are counted among the masterpieces of the textile arts.
But the middle class woman who “took in” a magazine or three was also eager to knit lace for herself and her family. Ladies’ magazines such as Godey’s Lady’s Book and The Delineator gave her many patterns to choose from, for everything from lace edgings for pillowcases and petticoats, to voluminous shawls inspired by the Shetland tradition. I have long desired to try my hand at one of these patterns, but always hesitated, on account of the reputed (and real) difficulties of making sense of Victorian patterns for the modern knitter.
These difficulties are indeed numerous. In the first place, there were no standardized sets of abbreviations like those we enjoy today. There were no charts, and charts are a great boon to the lace knitter, in giving a visual representation of the necessary stitches and order of construction. The Victorian pattern writer could also feel secure that her readers were adept enough knitters, knitting at a high level being so incredibly popular, that she could write the phrase, “finish, or pick up stitches, or increase, in the usual way”, and her readers would know at once what “the usual way” entailed, and how to execute it.
Despite these difficulties, however, I at last determined to try my hand at a little lace sample. I have a small collection of Victorian magazines, and here I began my search.
In my copy of the Christmas number of the 1891 issue of The Delineator magazine, I found just what I was looking for: a very pretty edging pattern, complete with a photograph against which I could compare my own work. Having determined to decipher the pattern and knit a sample of my own, I thought nothing could be nicer than to take you, my readers, along for the ride.
The Process
I will admit, at first glance I was bamboozled. As I mentioned, for modern knitters there is a standard set of abbreviations and directions, which are often explained in a key with the pattern. While certain directions were the same, there were two sticking points that looked very different from anything I have found in a modern pattern. The first was the use of the letter “n”, and the second was the direction, “th o twice”.
“N”, though seeming more inexplicable at first, turned out by far the easiest to decipher. I took to the internet to research, and found this delightful website, where the writer lists common vintage and antique abbreviations and their modern counterparts. When I read that “n” was for “narrow” (i.e., decrease the number of stitches on the needle by knitting the next two stitches together as one stitch,) I nearly facepalmed. In order to keep a piece of lace knitting even, the number of stitches must remain the same—so for every new stitch created by a yarn over (more on yarn overs in a bit) the two stitches before or after must be knit together as one (or narrowed) to keep the stitch count even. With my understanding of “n” sorted out, I turned to “th o twice”.
“Th o” I took to mean “yarn over”, one of the fundamental stitches of all lace knitting. Funnily enough, it is also a common mistake made by new knitters where no lace is intended. Basically, by passing the yarn over the right needle and then knitting (or purling) the next stitch, the knitter creates a hole—essential to lace fabric, but frustrating to find in a scarf you meant to be solid!
“Th o”, then, I understood. But twice? I tried it, and ended up with a dreadful mess. I decided to try simply one yarn over whenever two were called for—this evened out one portion of the lace, but threw my stitch count off completely. Then it dawned on me; some of the yarn overs were before purl decreases, while some were before knit decreases. Now, in a yarn over before a purl decrease, you do have to bring the yarn forward again to purl. Could it be that the direction “th o twice” before a purl decrease was merely referring to this bringing forward of the yarn, while the same direction before a knit decrease truly meant “yarn over twice”?
After some deep breathing, I tried this—and at last, everything evened out. I was off to the races! The turtle races, that is. Since I wanted to translate the pattern for my fellow modern knitters, I set about charting and writing out the pattern “translation” as I worked up my sample. This was my first (very small) foray into pattern writing, and I absolutely loved it. I’m eager to try my hand at making new, even original patterns in future.
As the lace took shape under the soothing “click-click” of my needles, I felt the thrill I always get from engaging in a task identical to one taken up by our ancestors. It is a nearness to the past—a familiarity, which lends to the long-dead, flesh and blood in my imagination. It gives me the sense that they really lived, and lived much like you and I: beset by fears and buoyed by precious moments of peace, contentment and joy—and who loved, as much as you and I, the work of the fallible human hand.
The Pattern
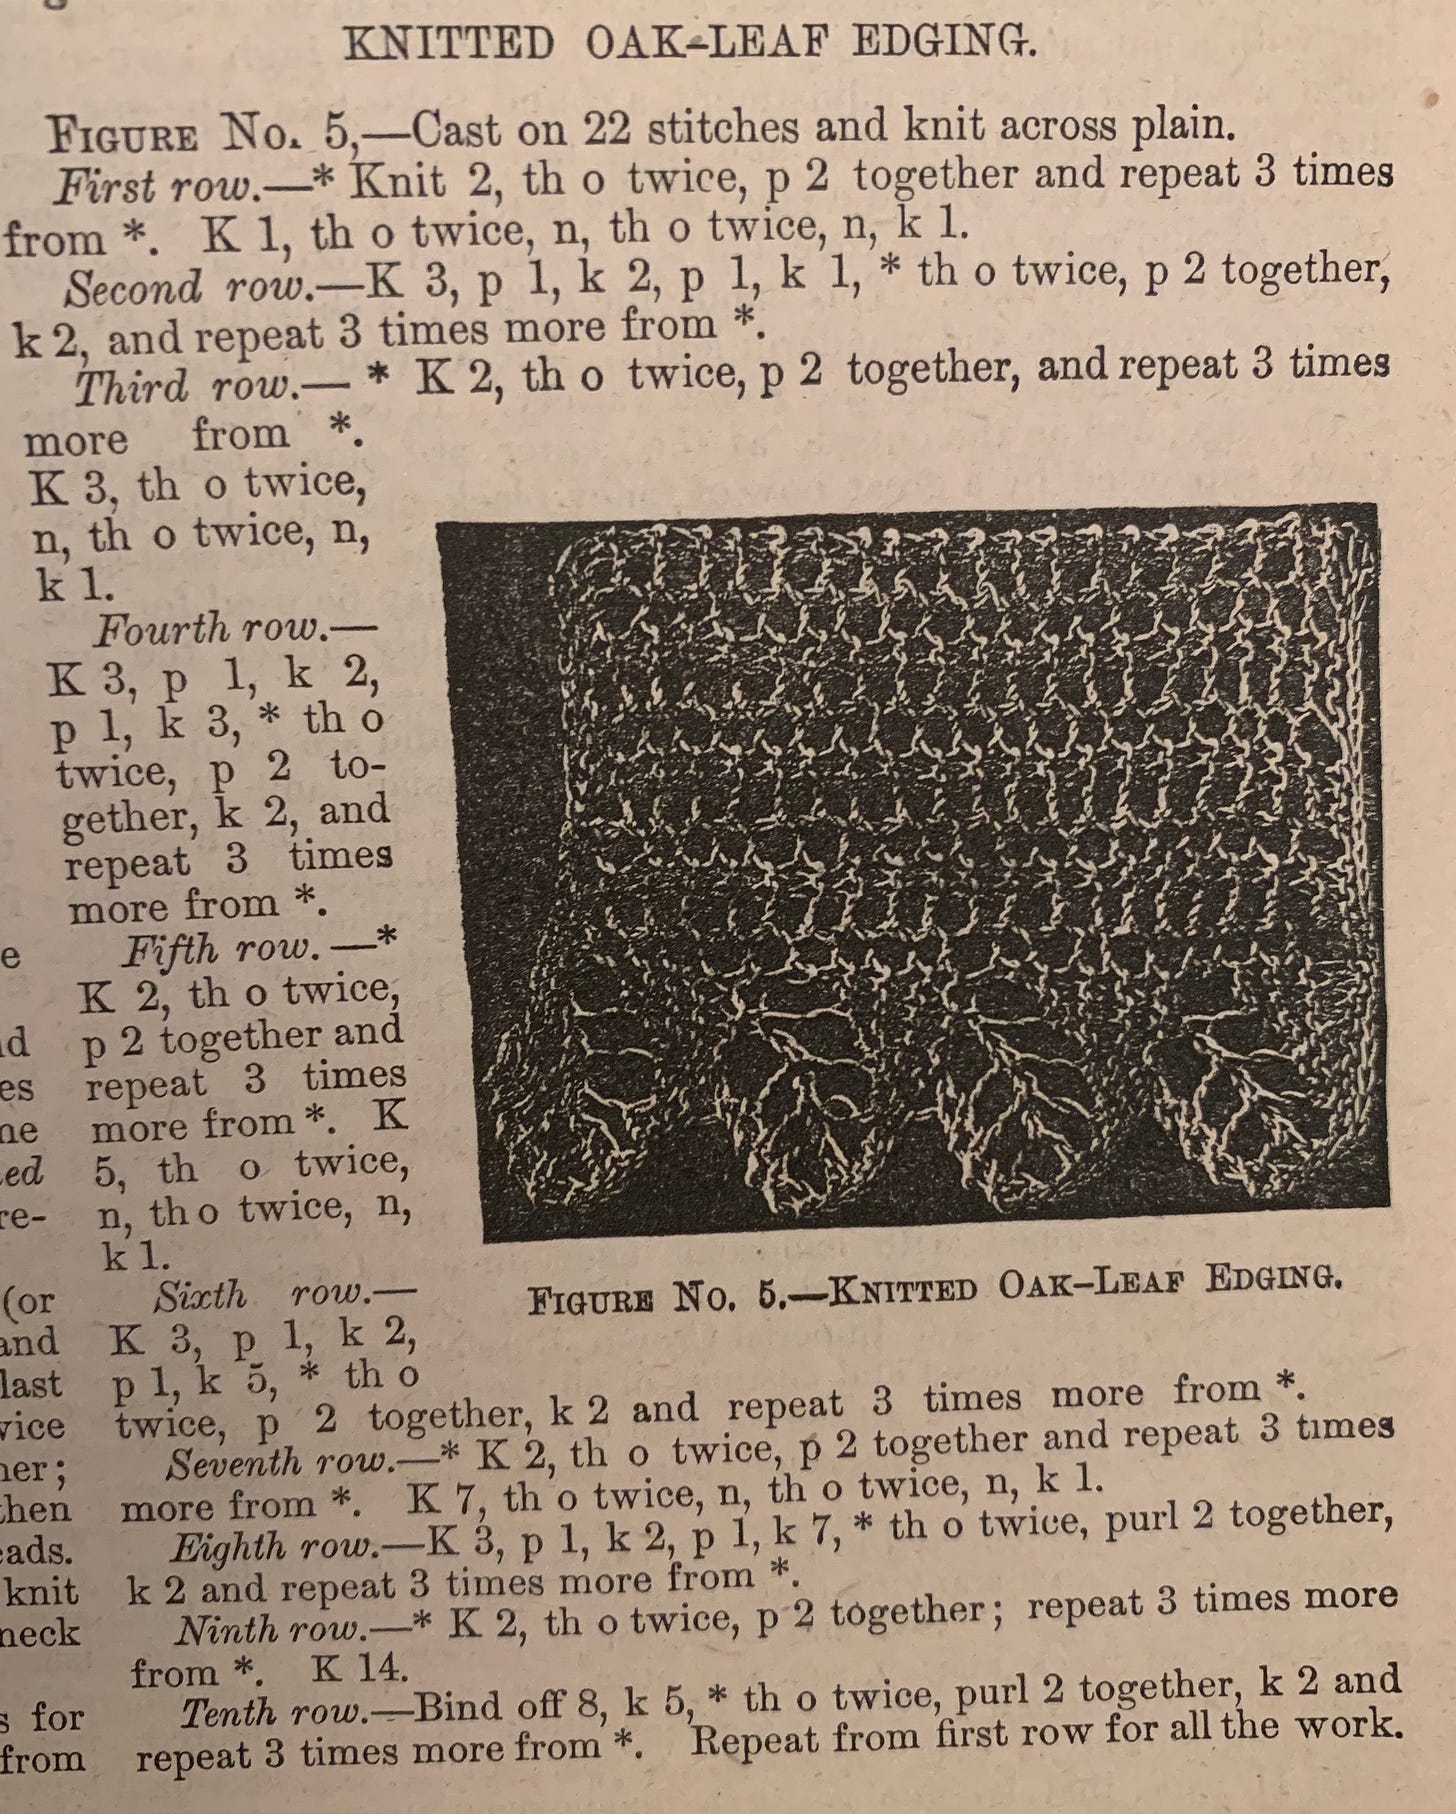
Here’s the knitty-gritty. (Sorry, I couldn’t resist.) Below is a photo of the original pattern as found in The Delineator magazine.
A lot of this will look familiar to modern knitters. “K” is knit, “p” is purl, for instance. The two major differences are:
“N” for “narrow” = Knit the next two stitches together as one.
“Th o twice” = Yarn over twice when before a knit decrease, yarn over once before a purl decrease.
Below, you’ll find my modern “translation” of the written pattern, as well as a full chart.
Note: For my sample, I used KnitPicks Curio #3 in the color “Bare”, and US #3 (3.25mm) needles.
Written Pattern
Key:
K = Knit
P = Purl
YO = Yarn over (Here is a great article on how to make a yarn over!)
K2tog = Knit next two stitches together
P2tog = Purl next two stitches together
Cast on 22 stitches. Knit 22 stitches.
Row 1: *K2. YO. P2tog. Repeat from * 3 more times. K1. *YO twice. K2tog. Repeat from * once more. K1. [24 stitches]
Row 2: K3. P1. K2. P1. K1. *YO. P2tog. K2. Repeat from * 3 more times.
Row 3: *K2. YO. P2tog. Repeat from * 3 more times. K3. *YO twice. K2tog. Repeat from * once more. K1. [26 stitches]
Row 4: K3. P1. K2. P1. K3. *YO. P2tog. K2. Repeat from * 3 more times.
Row 5: *K2. YO. P2tog. Repeat from * 3 more times. K5. *YO twice. K2tog. Repeat from * once more. K1. [28 stitches]
Row 6: K3. P1. K2. P1. K5. *YO. P2tog. K2. Repeat from * 3 more times.
Row 7: *K2. YO. P2tog. Repeat from * 3 more times. K7. *YO twice. K2tog. Repeat from * once more. K1. [30 stitches]
Row 8: K3. P1. K2. P1. K7. *YO. P2tog. K2. Repeat from * 3 more times.
Row 9: *K2. YO. P2tog. Repeat from * 3 more times. K14.
Row 10: Bind off 8 stitches. K5. *YO. P2tog. K2. Repeat from * 3 more times. [22 stitches]
Repeat these 10 rows for as long as desired for project. Bind off after a tenth row. Block knitting. Weave in ends.
Chart
First, a VERY IMPORTANT NOTE: Because this is a two-sided lace, (in other words, both right and wrong sides have increases, decreases, etc.,) I have made the decision to have each symbol retain its meaning on BOTH the right and wrong sides. In other words, the symbol for “purl two together” means “purl two together” on both the right side and the wrong side of the work. The same goes for knit and purl: a knit symbol ALWAYS means knit, while a purl symbol ALWAYS means purl.
Also, just note that while the knit rows should be read right to left, the purl rows are read left to right.
Before beginning the lace chart, the knitter may choose to knit one row plain, which is called for in the original pattern. I chose to do this, but it is not absolutely necessary.
The Finished Lace Sample
First, I thought it might be helpful to show a photo of my blocking the lace sample. “Blocking” is when you wet the knitting and pin it to the desired measurements, often on a blocking mat. For lace this is especially important to open up the stitches, which tend to scrunch in on themselves otherwise. Here is the sample blocking:
Full of pins, as you can see!
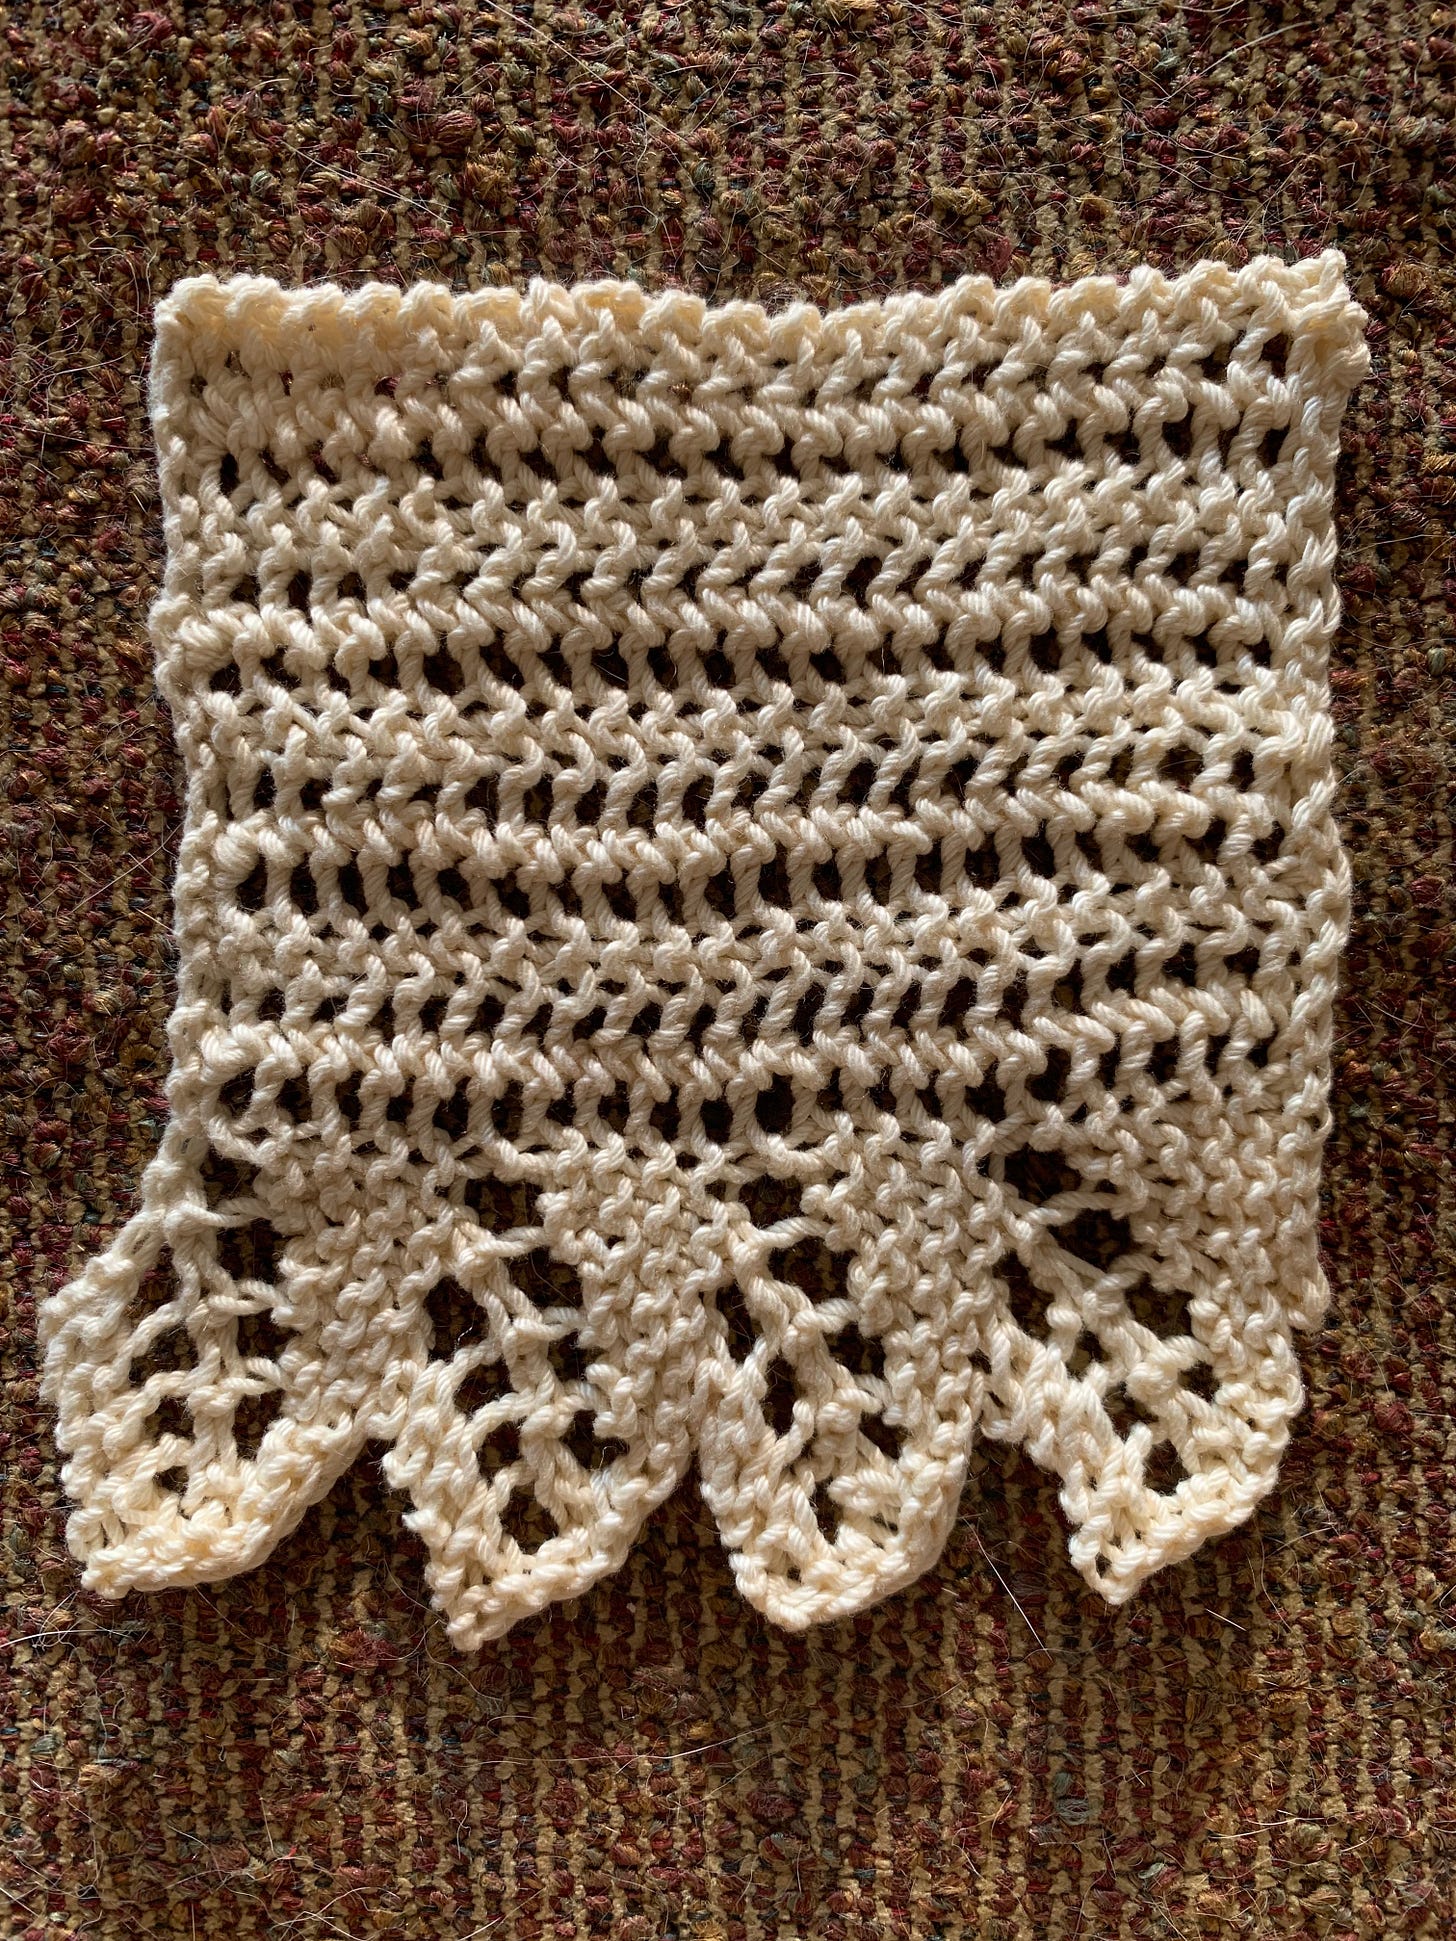
And here is my completed sample! I ended up absolutely loving the fabric this created. I would very much like to make a full border in a thinner yarn for pillowcases or maybe even an underskirt. Considering that this took me about an hour, that would be quite an undertaking…but a knitter can dream!
That is all for this time! Thank you so much for joining me. Next week I will be back with an update on my me-made wardrobe!


Thanks for this fascinating post, I am discovering more about the beauty of lacing.